Complete Your Setup
Please configure your office location to enable QR-based attendance tracking for your staff.
Set Up Working Days
Configure your organization's working days and hours to enable accurate attendance tracking.
AttendanceGM Documentation
Everything you need to get the most out of AttendanceGM
Staff Guide
For all employees and team members
1 What is AttendanceGM?
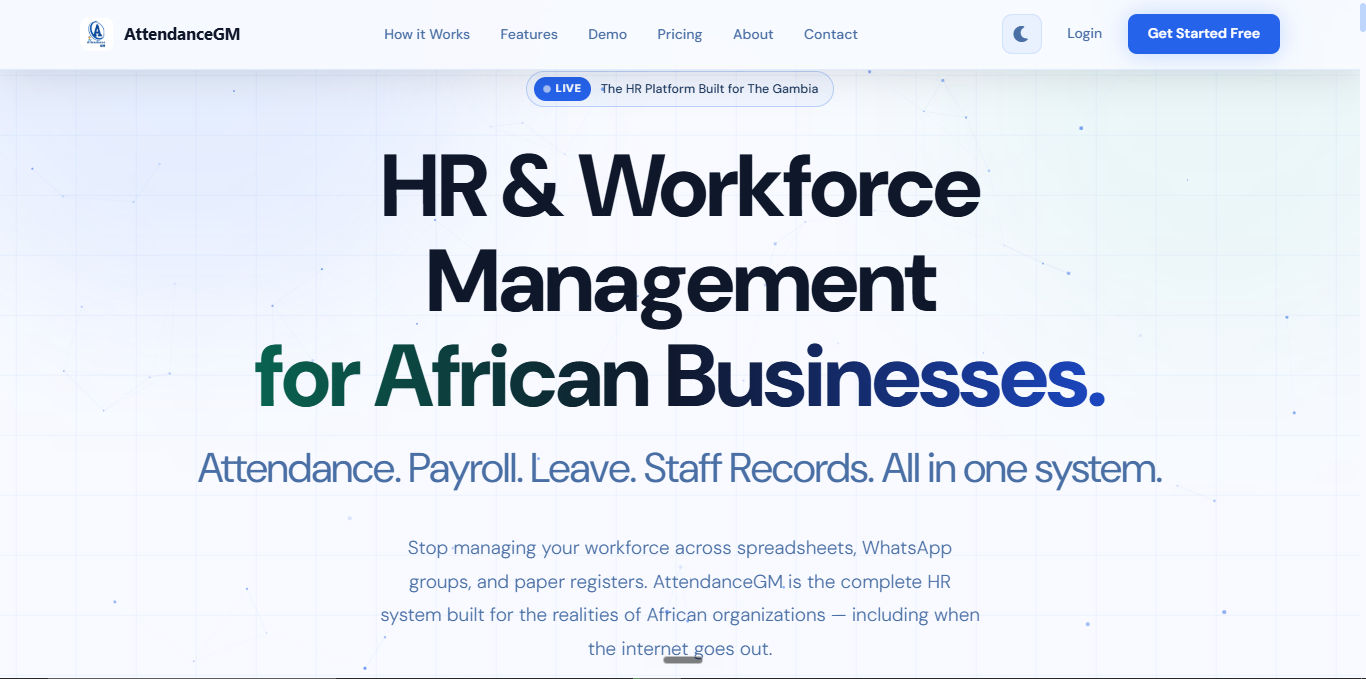
AttendanceGM is a simple system for organizations in The Gambia to track when staff arrive and leave work. Instead of signing a physical attendance book every day, you use your phone or a tablet placed at the office entrance.
The system records your working hours accurately so that your payroll is always correct. It also lets you request leave, view your payslip, and stay informed about office holidays — all from one place.
2 Creating your account
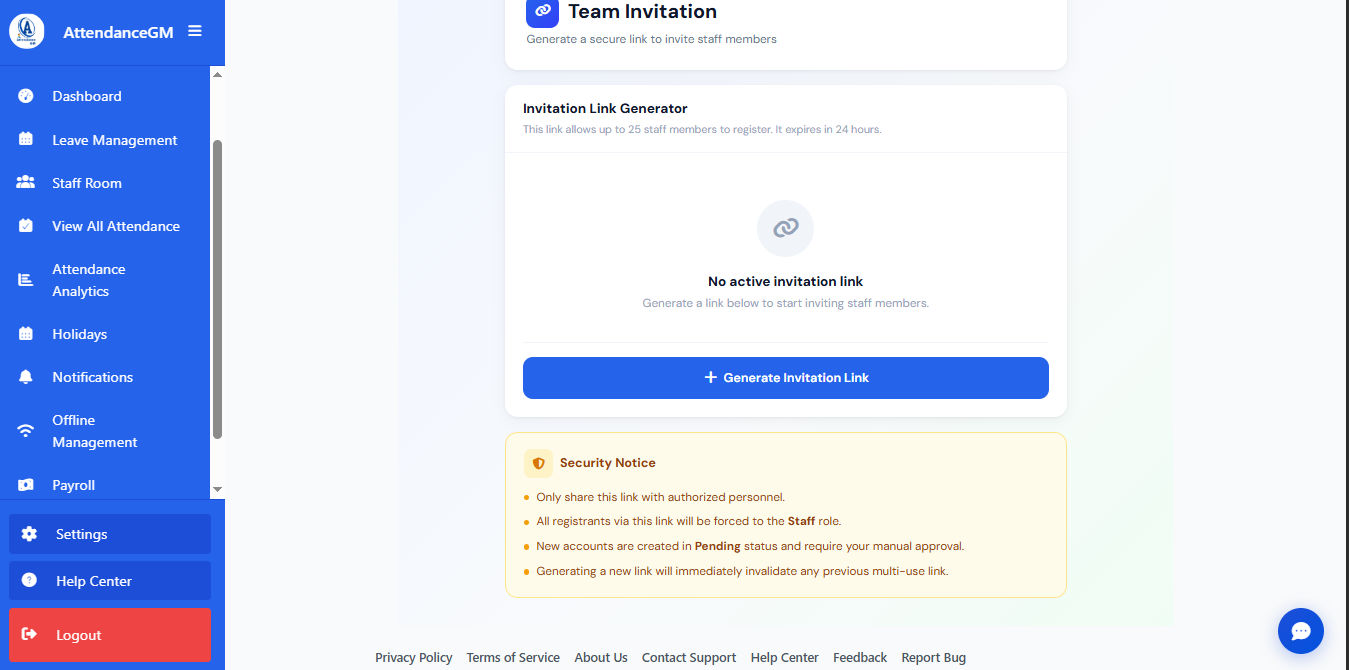
Your admin will send you an invitation link. You can receive it in two ways:
- Group chat / WhatsApp — your admin shares the link in your office group. Tap the link on your phone to open the registration page.
- Email invite — check your inbox for a message from AttendanceGM and click the link inside.
3 Logging in
Go to the AttendanceGM login page and enter your email address and the password you created. Click Login to reach your dashboard.
4 Password management
Forgot your password?
- Click Forgot Password on the login page
- Enter your registered email address
- Check your inbox for a reset link
- Click the link and choose a new password
Change your password while logged in
Go to your profile settings in the top navigation, click Change Password, and enter your current and new passwords.
5 Checking in — from your dashboard
If your organization allows dashboard check-ins, follow these steps when you arrive at the office:
6 Checking in — QR code methods
There are two separate QR code methods for checking in. Your admin will tell you which one your office uses.
Method A — Scan the office QR code with your phone
Your organization prints the office QR code and sticks it at the entrance. You use your phone camera to scan it.
Method B — Show your personal QR code to the office tablet
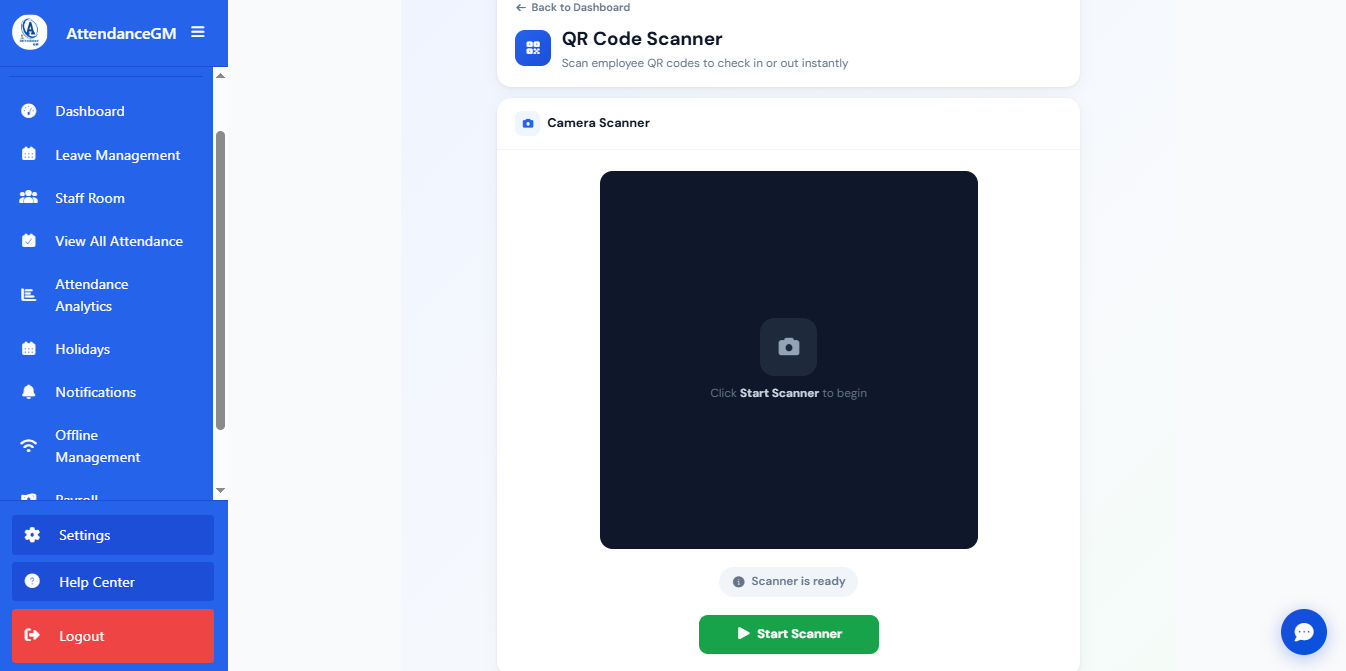
Your organization places a tablet or computer at the entrance running the Quick Scan page. You show your personal QR code to its camera.
7 Viewing your attendance history
Click Attendance History in the menu to see all your past check-ins and check-outs. For each day you can see:
- Check-in and check-out times — the exact time recorded each day
- Total hours worked — automatically calculated
- Status — Present, Late, or Absent
- Monthly summaries — an overview of your attendance pattern
8 Viewing your payslip
At the end of each pay period your payslip becomes available. Go to Payslips in the menu to view it. Your payslip shows:
- Basic salary — your agreed monthly pay
- Allowances — transport, housing, or any other additions
- Deductions — late penalties, absences, or tax contributions
- Net pay — the final amount you will receive
9 Submitting a leave request
To request time off, go to Leave Requests in the menu and click New Request. Follow these steps:
Leave types explained
The system supports ten leave types. Your organization may not use all of them — only the types your admin has set up will appear when you submit a request. Default entitlements shown below are based on the Gambian Labour Act; your organization may configure different amounts.
| Leave type | What it is for | Default days | Paid? |
|---|---|---|---|
| Annual Leave | Your standard yearly holiday entitlement. Days accrue each month throughout the year. Unused days can carry over (up to the limit your org sets). | 21 | Yes |
| Sick Leave | When you are unwell and cannot come to work. A medical certificate or doctor's note may be required. | 14 | Yes |
| Casual Leave | Short, unplanned time off for personal matters that cannot wait — errands, minor personal obligations, etc. Typically requires at least 2 days notice. | 5 | Yes |
| Study Leave | Time off for exams, training courses, or other educational commitments. Supporting documents (exam timetable, enrollment letter) are usually required. At least 7 days notice is expected. | 10 | Yes |
| Maternity Leave | For female staff before and after childbirth, in line with the Gambian Labour Act. Supporting documentation is required. | 98 (14 weeks) | Yes |
| Paternity Leave | For male staff following the birth of their child. | 5 | Yes |
| Emergency Leave | For urgent, unexpected situations — family bereavement, serious illness of a close relative, or other emergencies that require immediate absence. | 3 | Yes |
| Religious Leave | For religious observances and festivals not covered by public holidays — for example, a special prayer day or pilgrimage obligation. | 3 | Yes |
| Election Leave | Time off to vote or fulfil civic duties during a national or local election. Configured per organization. | Set by org | Set by org |
| Time Off In Lieu | Time off earned in exchange for overtime or extra hours worked previously. Must be agreed with your admin before taking. | Set by org | Set by org |
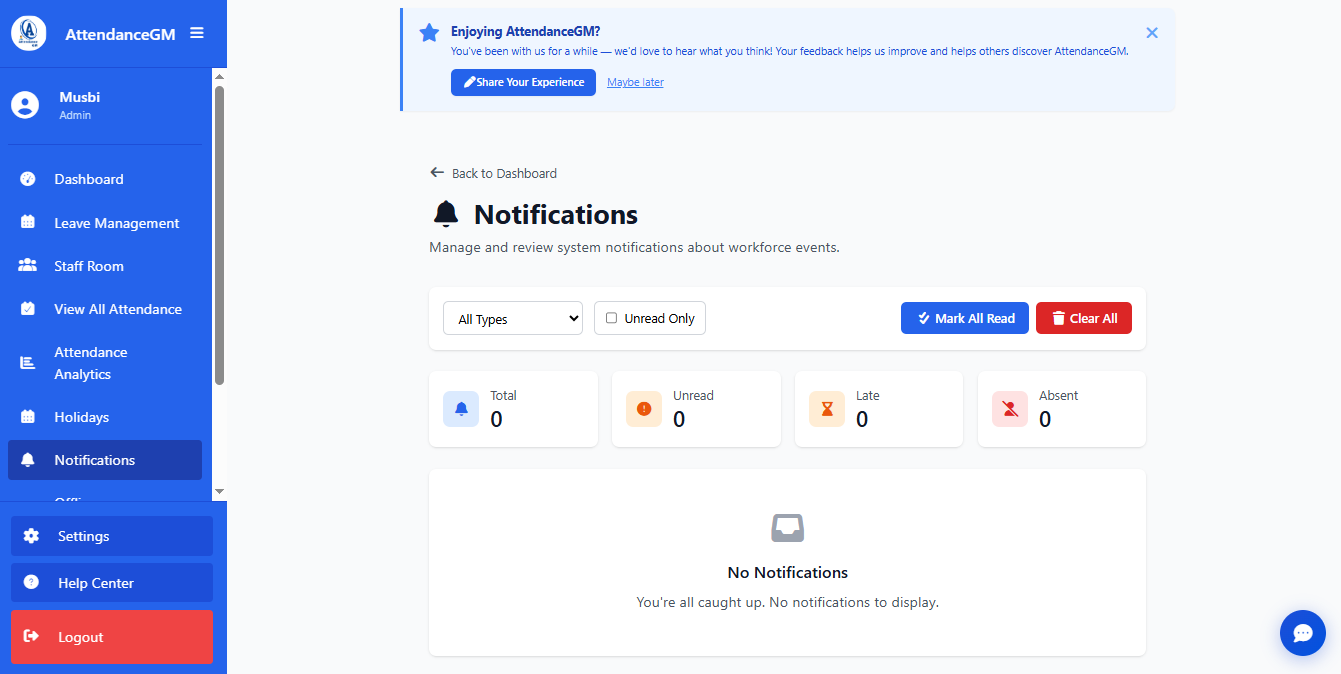
10 Viewing notifications
Click the notification bell at the top of the page to see alerts such as:
- Holiday announcements from your admin
- Leave request approved or denied
- Messages or updates from HR
11 Your profile settings
Go to Profile from the top navigation to update your personal information and view your unique staff ID number. If anything looks incorrect — like your name or department — ask your admin to update it.
12 Recording breaks
If your organization uses break tracking, you can record when you step away from work and when you return. This keeps your hours calculation accurate — break time is not counted as working time.
Admin Guide
For Organization Administrators and HR
1 Roles explained
AttendanceGM has several roles. Each role controls what a person can see and do in the system.
| Role | What they can do |
|---|---|
| Org Owner | Full control over everything — settings, payroll, staff, billing |
| Admin | Manage staff, payroll, leave, and view all reports |
| Supervisor | View attendance and reports for their department |
| Coordinator | A coordination role with view access to attendance and reports — your admin can confirm exactly which pages are visible to this role in your organization |
| HR | Manage payroll and leave requests; cannot change org settings |
| Staff | Check in/out, view own history, payslip, submit leave |
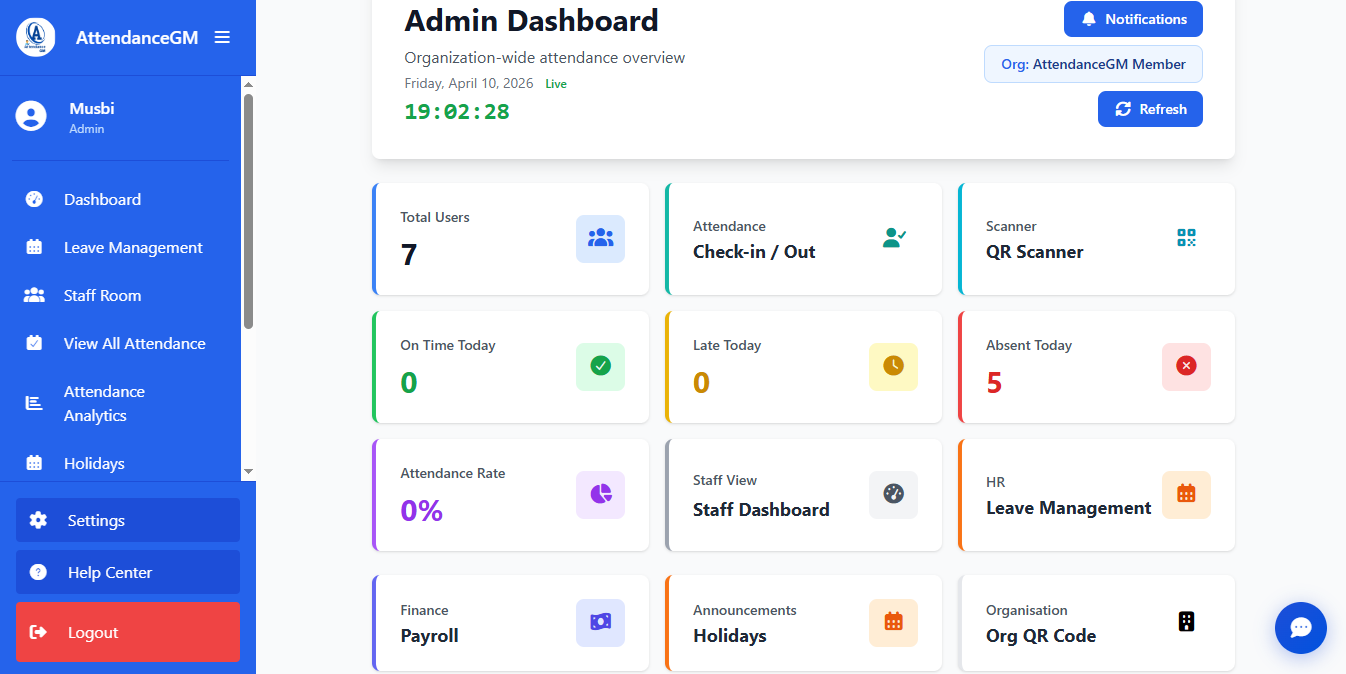
2 Setting up your organization
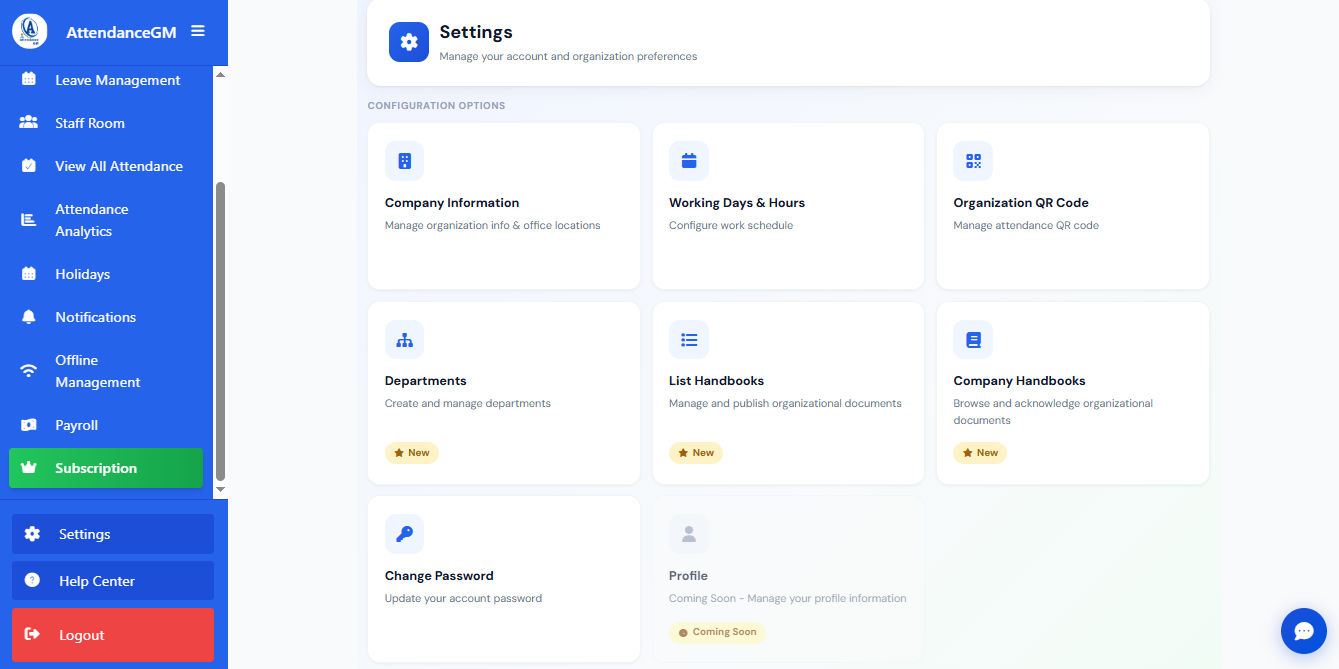
After registering, complete your organization setup before inviting staff. Go to Settings and configure:
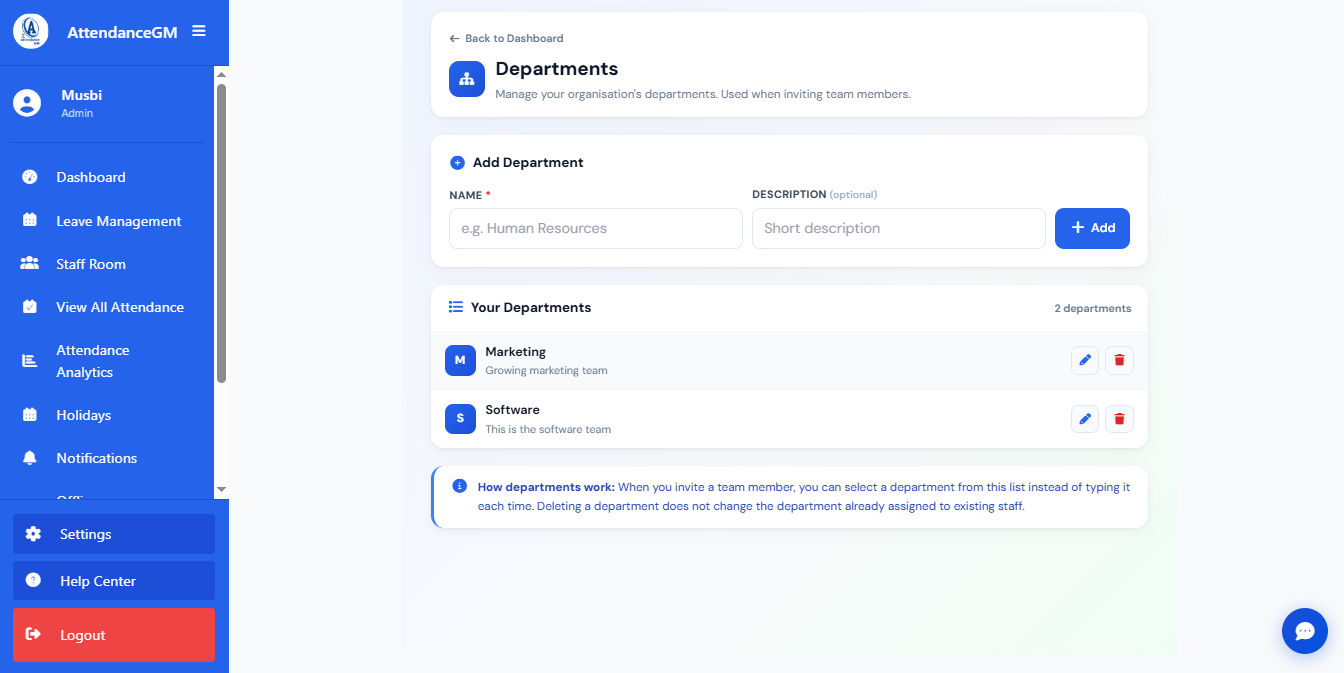
3 Managing departments
Create departments to group your staff and assign supervisors. Go to Departments from your admin dashboard and click Add Department. Enter the department name — for example Finance, HR, or Operations.
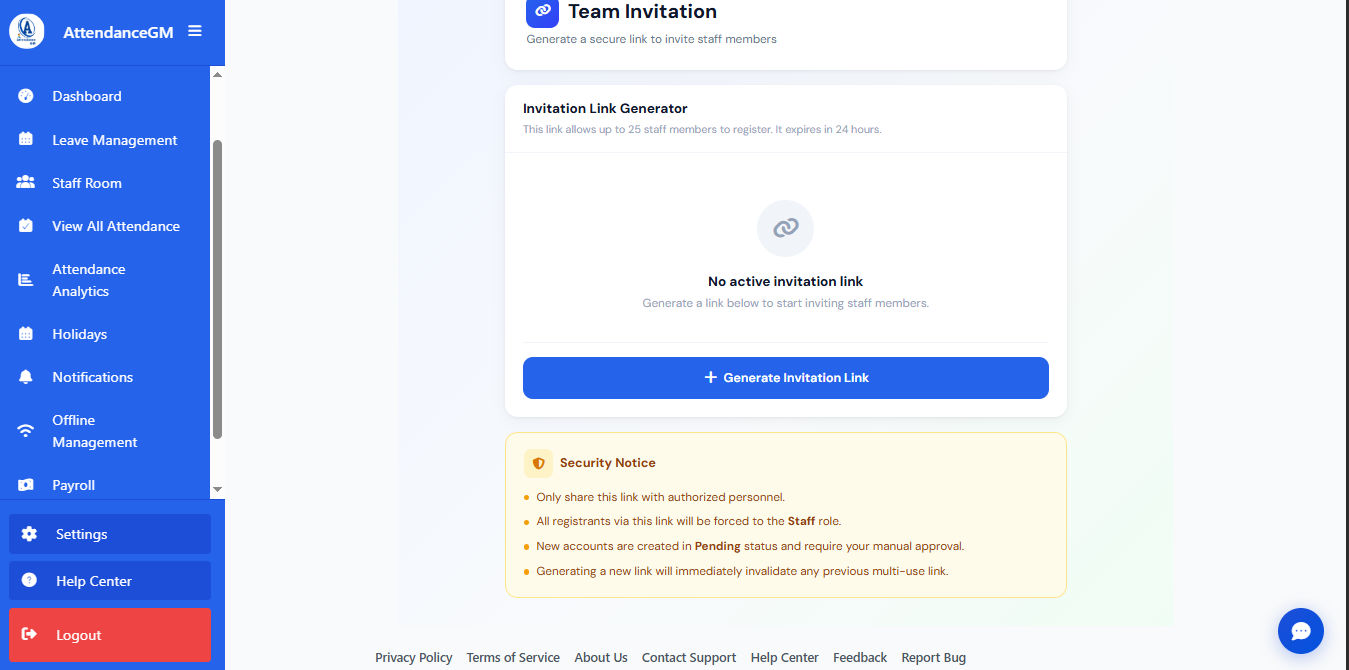
4 Inviting staff — four methods
Choose the method that works best for each staff member. All methods create a full staff account.
Link invite
Generate a secure registration link and share it in your office WhatsApp group or any group chat. Up to 25 staff can register using the same link. The link expires after 24 hours.
Email invite
Enter one staff member's email address. The system sends them a personal registration link automatically.
Bulk email invite
Upload a CSV file with names and email addresses to invite many staff at once. Each person gets their own unique registration link.
Offline user
For staff with no email address. You create their account manually, set a PIN, and give them the PIN directly. No email is sent.
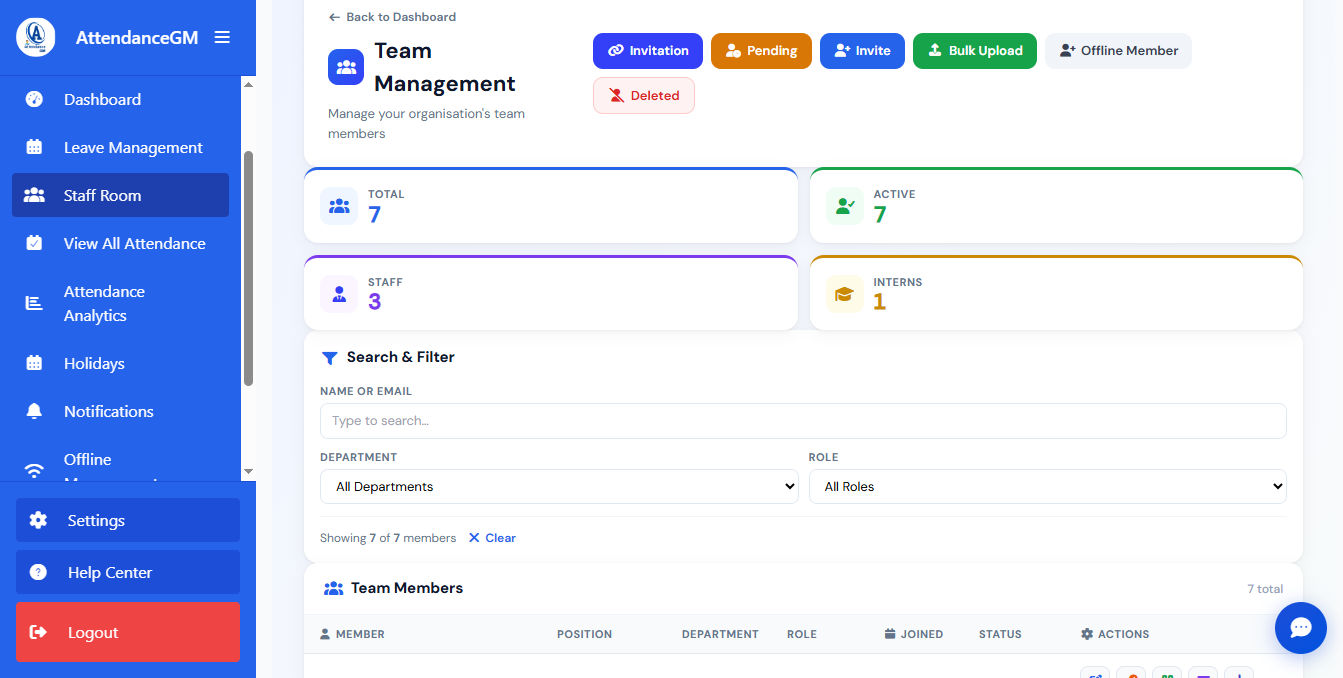
5 Managing staff
From the Staff page you can view and manage every member of your organization:
- Edit details — update name, email, role, or department
- Reset password — send a new password reset link to the staff member
- Block or deactivate — temporarily suspend access without deleting the account
- View attendance history — see the full check-in record for any staff member
- Edit attendance record — correct a check-in or check-out time, or change the attendance status for a specific day (for example convert an Absent record to On Leave after approving a late leave request)
- Emergency check-in/out — record attendance on behalf of a staff member in emergencies
6 Quick Scan setup
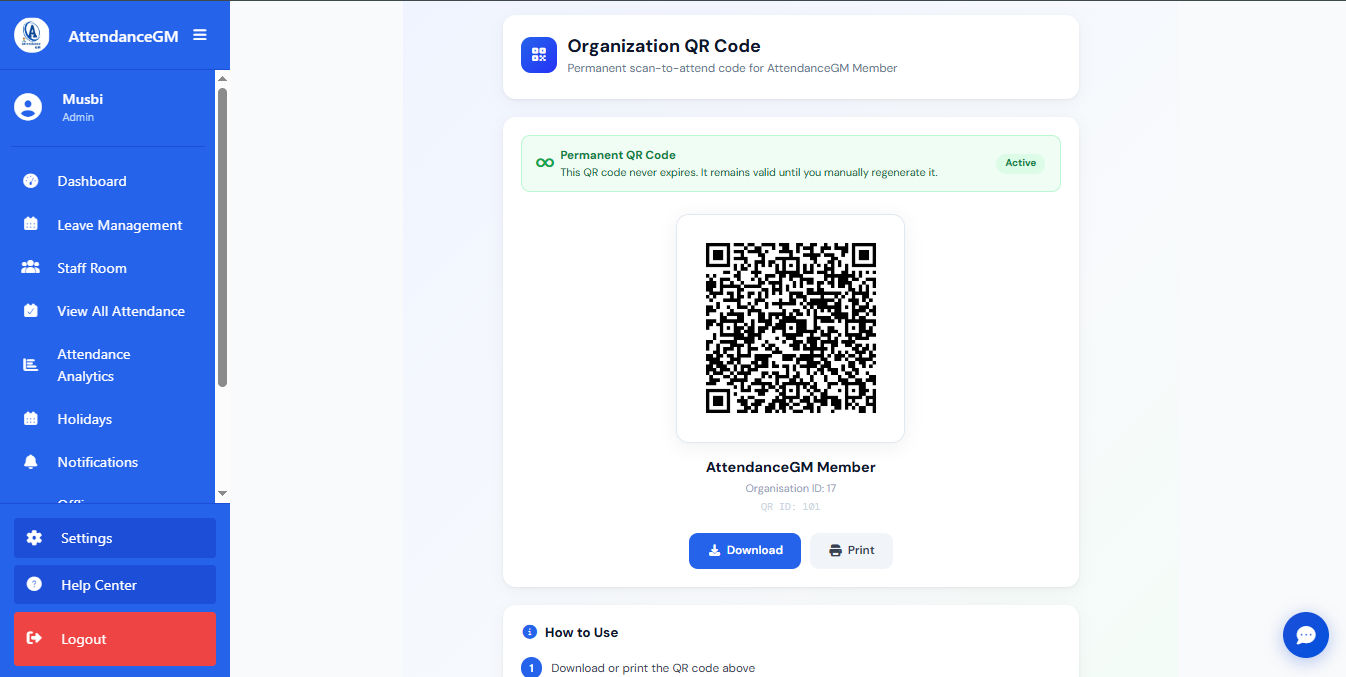
Quick Scan turns any tablet or computer at your office entrance into a check-in station. Staff show their personal QR code to the camera and the system records their attendance instantly.
7 Offline attendance
AttendanceGM has two separate ways to handle attendance when internet is unavailable. Use whichever matches your situation.
Method A — CSV file upload
If your office had no internet or staff worked at a remote location, upload their attendance records using a spreadsheet file.
Your file must include these columns: Name, Date (YYYY-MM-DD), Check-in (HH:MM), Check-out (HH:MM).
Fatou Jallow, 2025-06-01, 08:00, 17:00
Go to Upload Attendance from the admin menu, download the sample template, fill in your data, and upload the file. The system reports any rows it could not process.
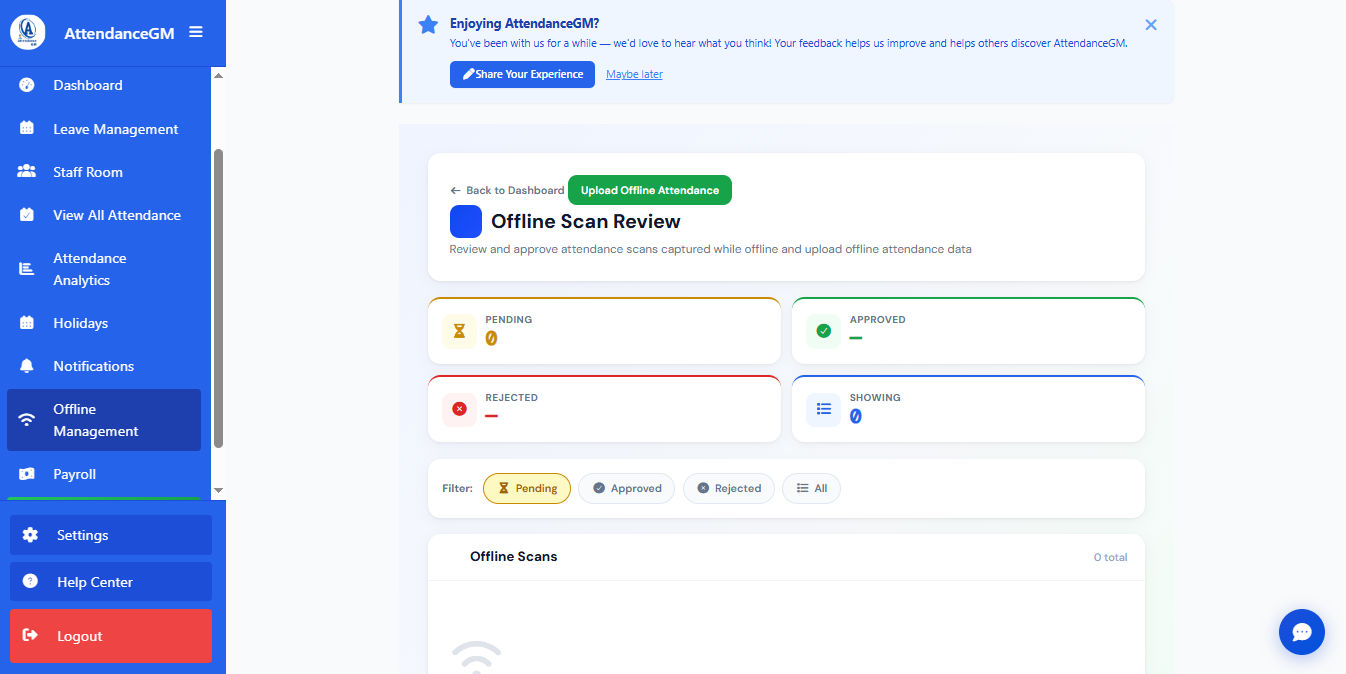
Method B — Offline QR sync (admin approval)
When a staff member scans a QR code but the device has no internet at the moment of scanning, the scan is saved locally on the device and queued for review when internet is restored. These pending scans appear in your admin panel for approval.
8 Attendance analytics and reports
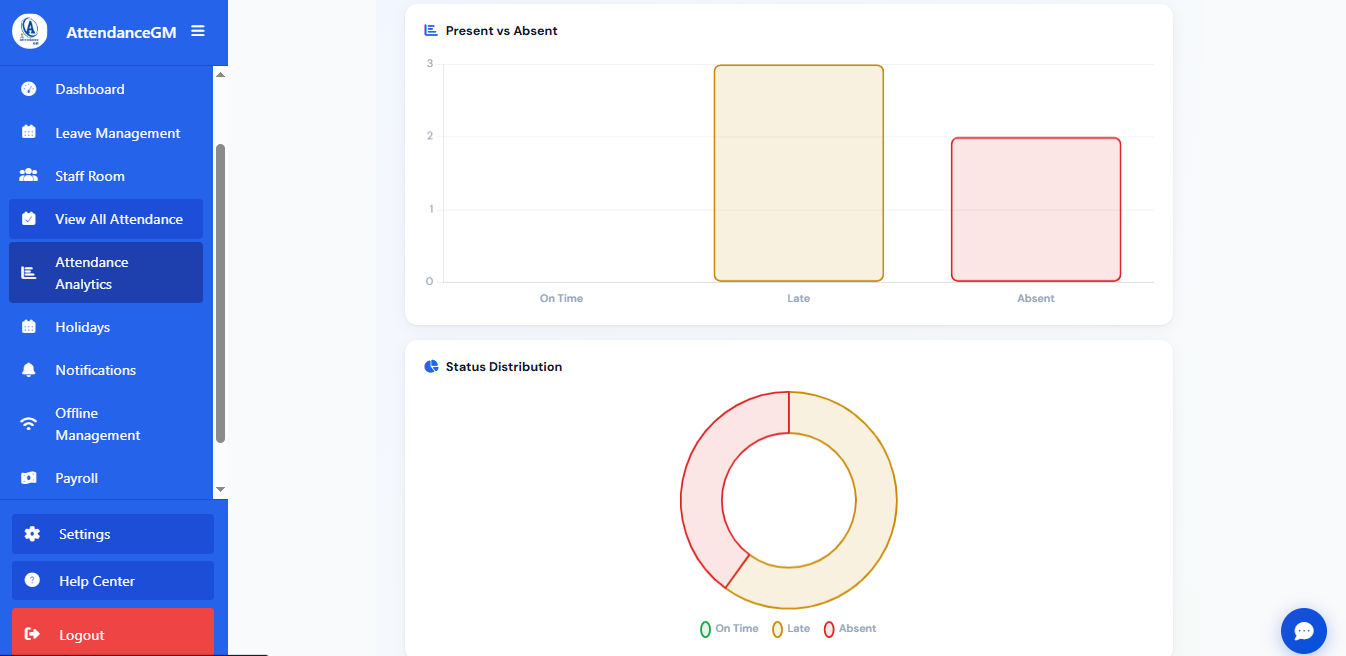
Go to Analytics to view real-time data about your organization's attendance. You can see:
- Daily summary — who is present, late, or absent today
- Weekly and monthly trends — attendance patterns over time
- Late arrivals report — track punctuality across the team
- Department comparison — see which departments have the best attendance
- Individual reports — drill down into any single staff member's record
All reports can be exported as PDF or Excel for your records.
9 Payroll — salary configuration
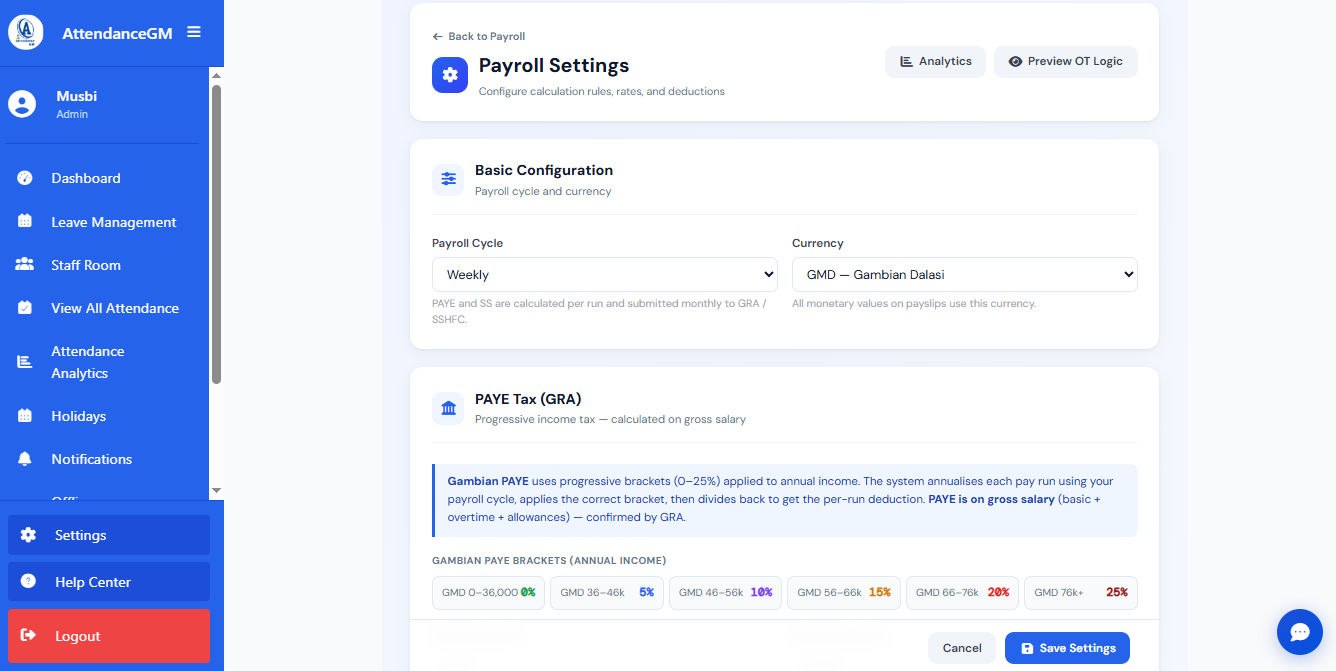
Before generating payroll you need to configure each staff member's salary. Go to Payroll Settings and set:
- Basic salary — the agreed monthly base pay for each staff member
- Allowances — company-wide additions such as transport or housing allowance
- Per-staff overrides — set different allowance amounts for individual staff if needed
- Deductions — SSHFC contributions, income tax, or late-arrival penalties
- Late deduction tolerance — set how many late days are allowed before any penalty deduction is applied. For example, if set to 3, the first 3 late days in a pay period carry no penalty
- Overtime threshold — set how many hours per week count as overtime, and the multiplier applied to overtime hours (default 1.5×). The system can calculate this automatically from your working days configuration
- Pay period — monthly or bi-weekly
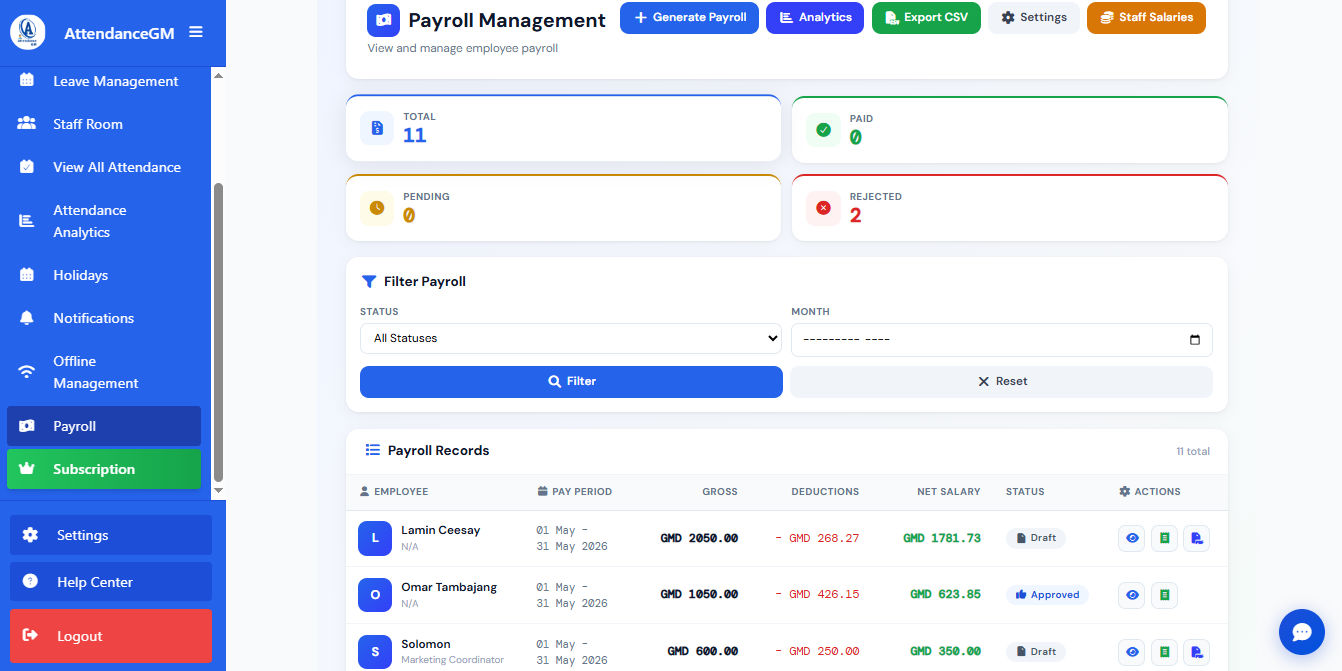
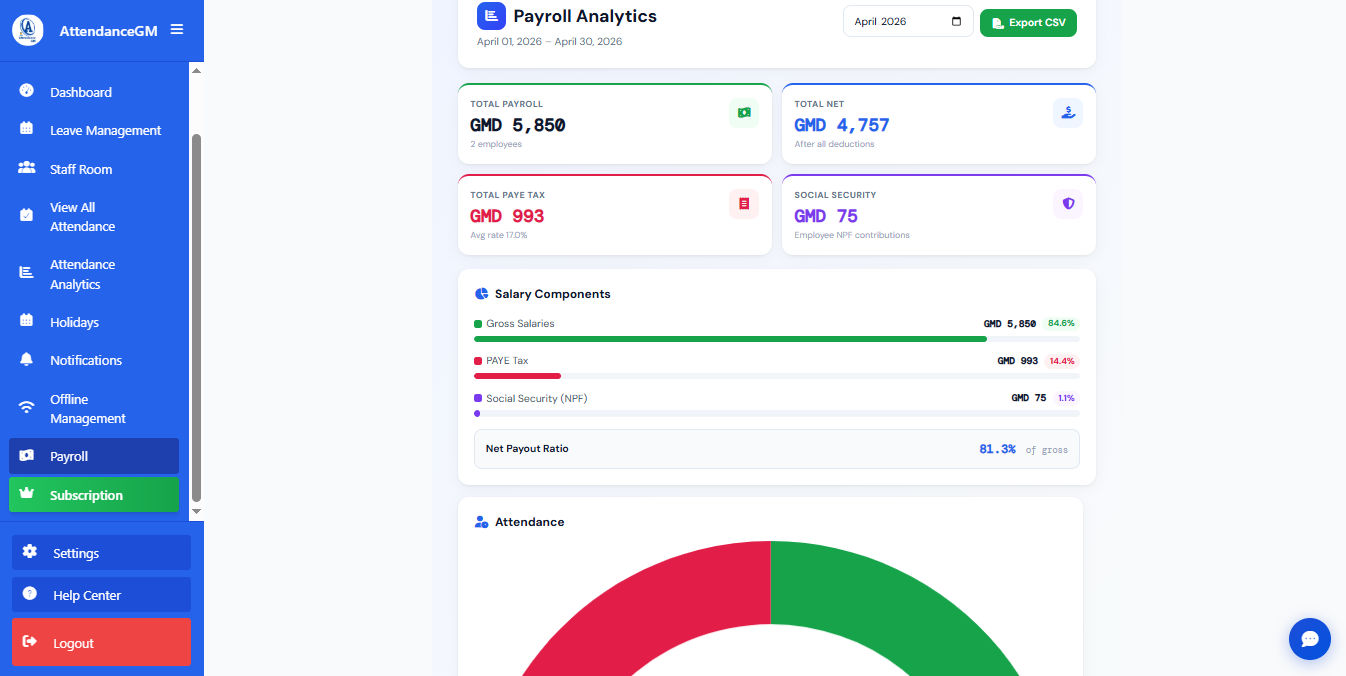
10 Generating payroll and viewing payslips
At the end of the pay period, go to Payroll and click Generate Payroll. The system automatically calculates each staff member's final pay based on their attendance, allowances, and deductions.
11 Leave management
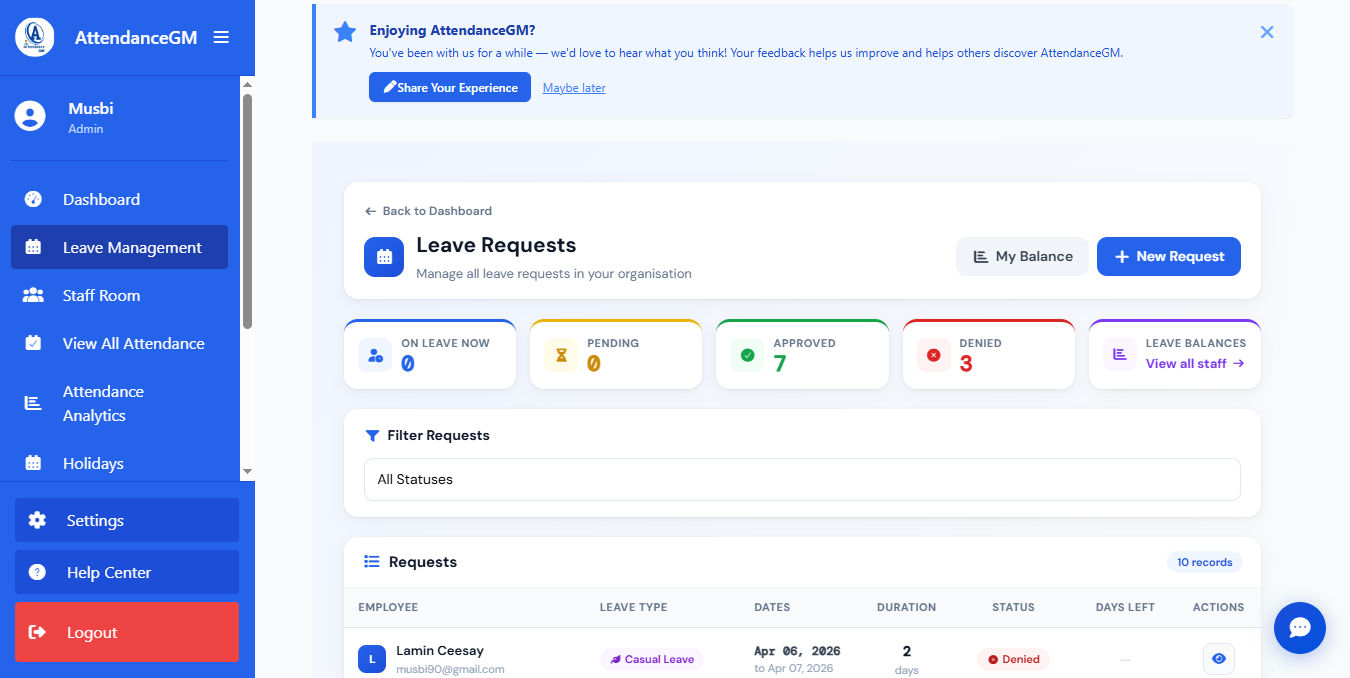
Go to Leave Requests to see all pending, approved, and denied requests from your staff. For each request you can see the staff member's name, leave type, dates, and reason.
- Click Approve to accept the request — the staff member receives a notification
- Click Deny and add a reason — the staff member is notified and can resubmit
- Approved leave days are automatically excluded from absence tracking
- Requests submitted for a past date are marked with a Backdated label so HR can review them separately
Leave balances
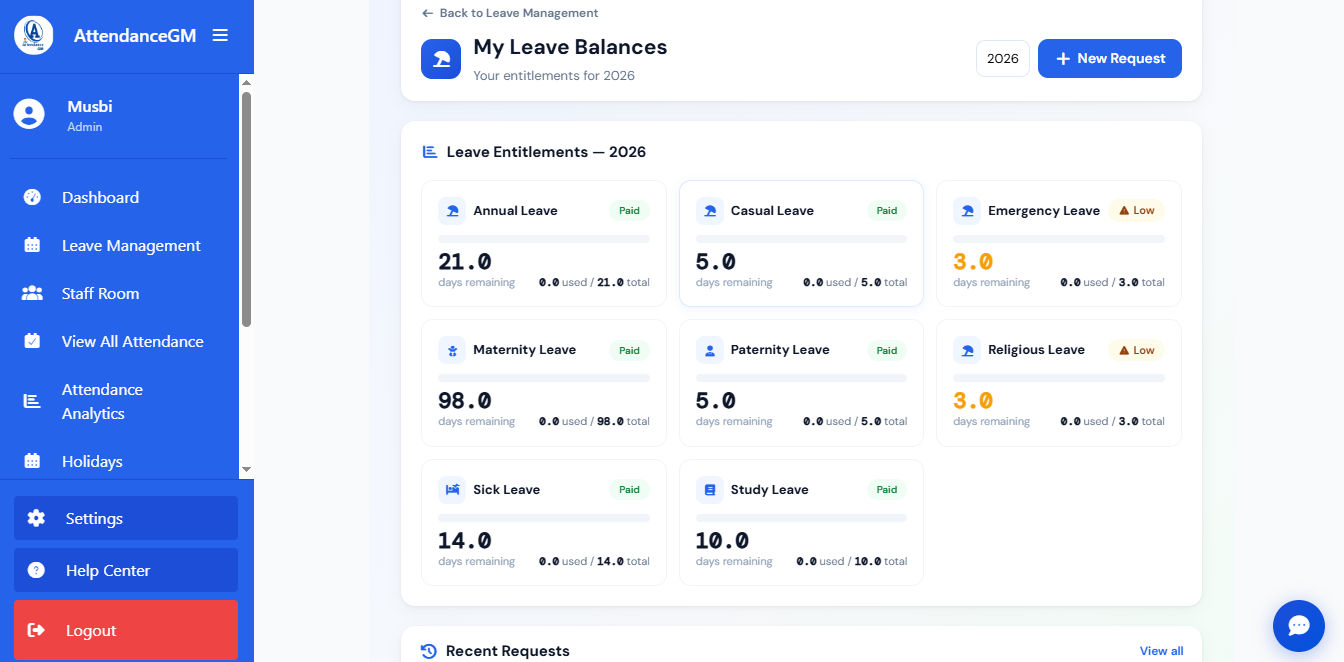
Go to Leave Balances to see every staff member's remaining entitlement for each leave type. From here you can:
- View individual balances — see exactly how many days each staff member has used and how many remain
- Manually adjust a balance — add or subtract days for a specific staff member if a correction is needed
- Configure leave policies — set the total entitlement per leave type, whether it is paid, how days accrue (monthly or upfront), whether unused days carry over to the next year, and whether days are paid out on termination
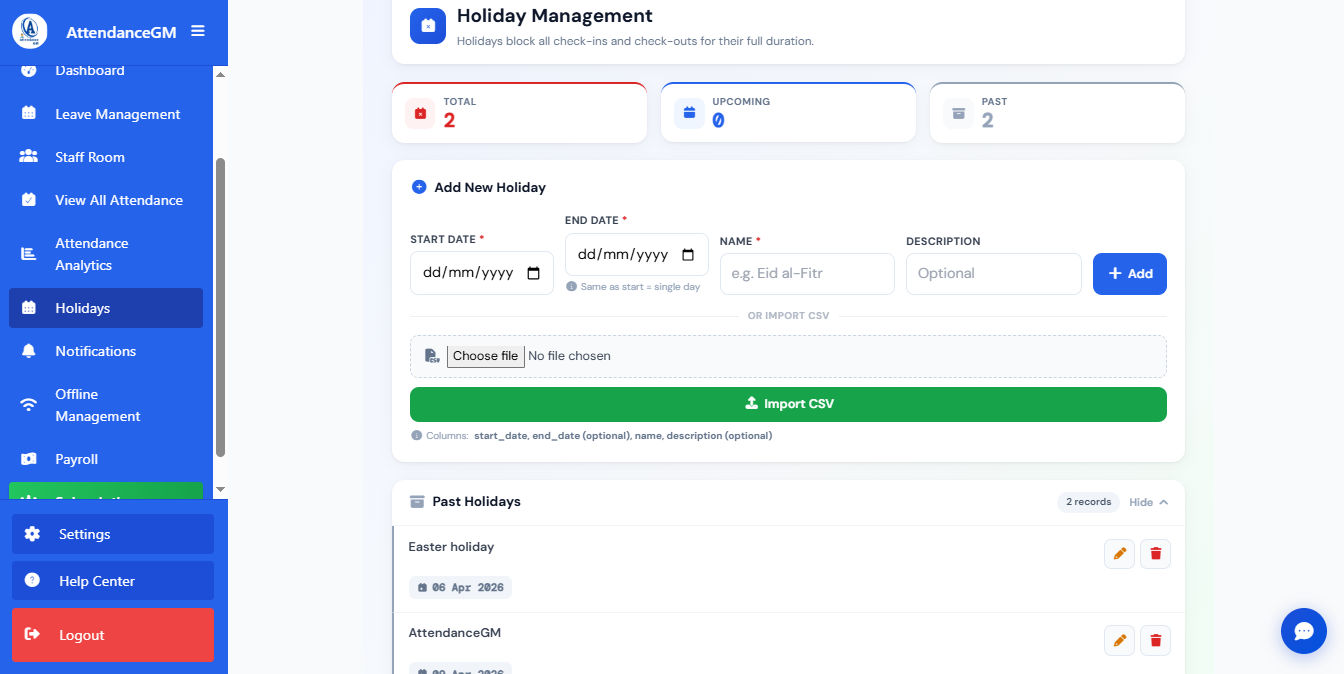
12 Holiday management
Declare official holidays so that no staff member is marked absent on those days. The system automatically skips absence tracking for everyone during a holiday period.
date, name, description. The date format must be YYYY-MM-DD.
13 Organization settings
From Settings you can update your company logo, contact information, and subscription plan. Only the Org Owner can make changes to billing and subscription details.
14 Organization handbook
Use the Organization Handbook feature to share official documents — policies, contracts, codes of conduct — directly with your staff through AttendanceGM. Staff can read and formally acknowledge each document so you have a record of who has seen it.
15 Activity log
The Activity Log is an audit trail of everything that happens in your organization's account. Go to Activity Log from the admin menu to see a timestamped record of actions such as:
- Staff accounts created, edited, or deactivated
- Payroll approved or deleted
- Leave requests approved or denied
- Attendance records edited manually
- Organization handbook documents published or archived
- Organization settings changed
Need further help?
Our support team is ready to help you with any technical issues or questions about your account.
